Guide To Hiking The Zion Narrows Hike With Kids
13 min read
Table of Contents
This post may contain affiliate links. We may receive a small commission, at no cost to you, if you make a purchase. Read Disclosure.
The Zion Narrows hike is one of the most iconic hiking trails in the world because of its spectacular scenery, passing through towering canyons and through the winding Virgin River – yes, it has the oddity of a trail in the river.
It has been on my bucket list for years and still remains at the top of my things to do in Zion National Park list.
The Zion Narrows day hike is an easy to moderate hike that’s perfect to do as a family.
Our two girls thought it was a fantastic hike and still talk about it. It totally lived up to our expectations (and mine were pretty high).
But if you’re not sure how to do the Narrows hike with kids, then keep reading to discover everything you need to know about hiking the Zion Narrows.
Is The Narrows Hike In Zion Worth It?
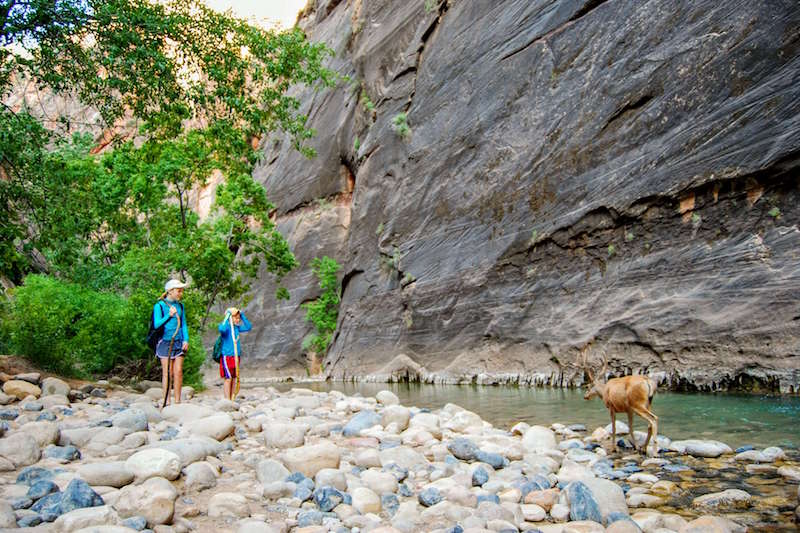
You may be on the fence about whether you do the Narrows hike – after all, it does take some people 12 hours to complete.
Tackling this hike is going to require a full day of your time, a bit of preparation, both physically and mentally, and a “can-do” attitude – so, is it worth it?
Absolutely! The Narrows hike in Zion is one of the most scenic hikes we’ve done in the United States, especially in Zion National Park, and nothing can compare to the jaw-dropping sight of the narrow slot canyon looming over you.
In case you didn’t know, The Narrows is the narrowest section of Zion Canyon in Utah, and there are significant dangers associated with the Zion Narrows hike.
Part of the trail is in the river, and the distinctiveness of hiking in a river also requires additional preparation; hiking it with kids adds even more challenges.
So while we do think the Zion Narrows hike is worth it, make sure you are clued up on what to expect so you go in prepared.
Is the Narrow Hike in Zion Easy?
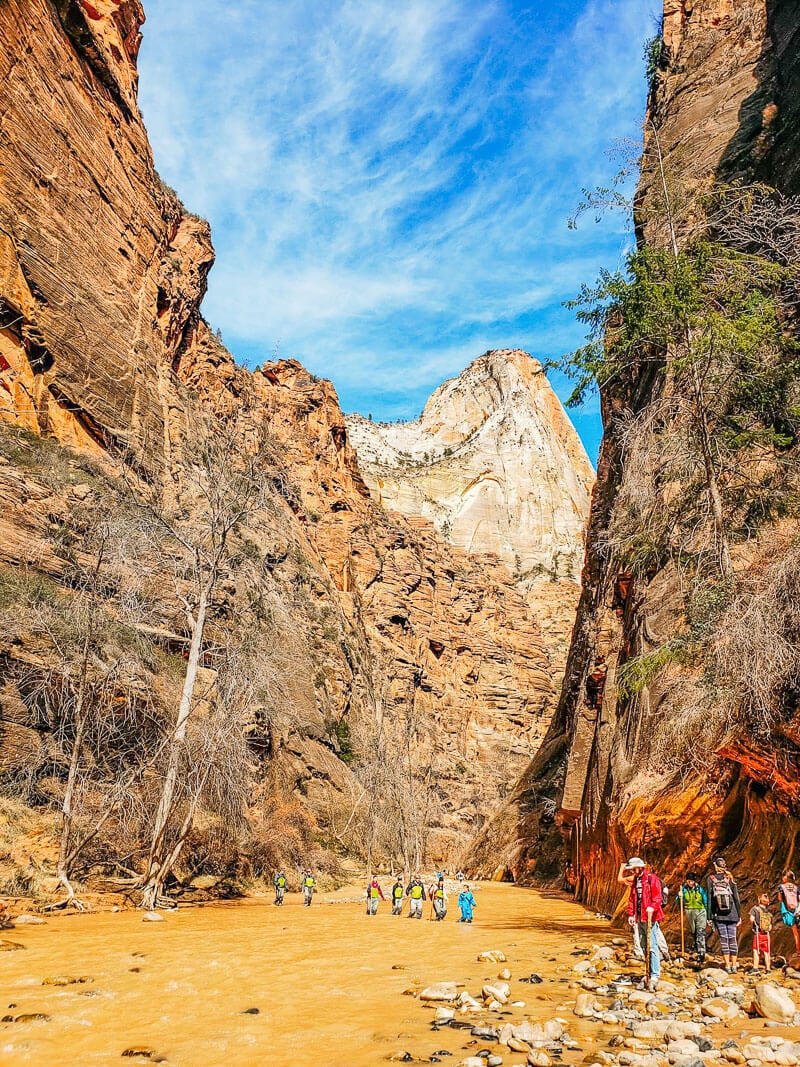
The Narrows hike is relatively easy, though the difficulty will depend largely on the person hiking and the water flow rates on the day.
Since the vast majority of the hike is wading through water, when the water flows quickly it makes it harder to balance and wade through the water.
We highly recommend you look at the current conditions before you’re hiking. Anything under 60 cubic feet per second is considered slow moving and easy. The trail closes when it surpasses 150 cubic feet per second.
You can check the current conditions of the Virgin River here.
How To Hike The Zion Narrows Hike
1. Start at the Temple of Sinawava
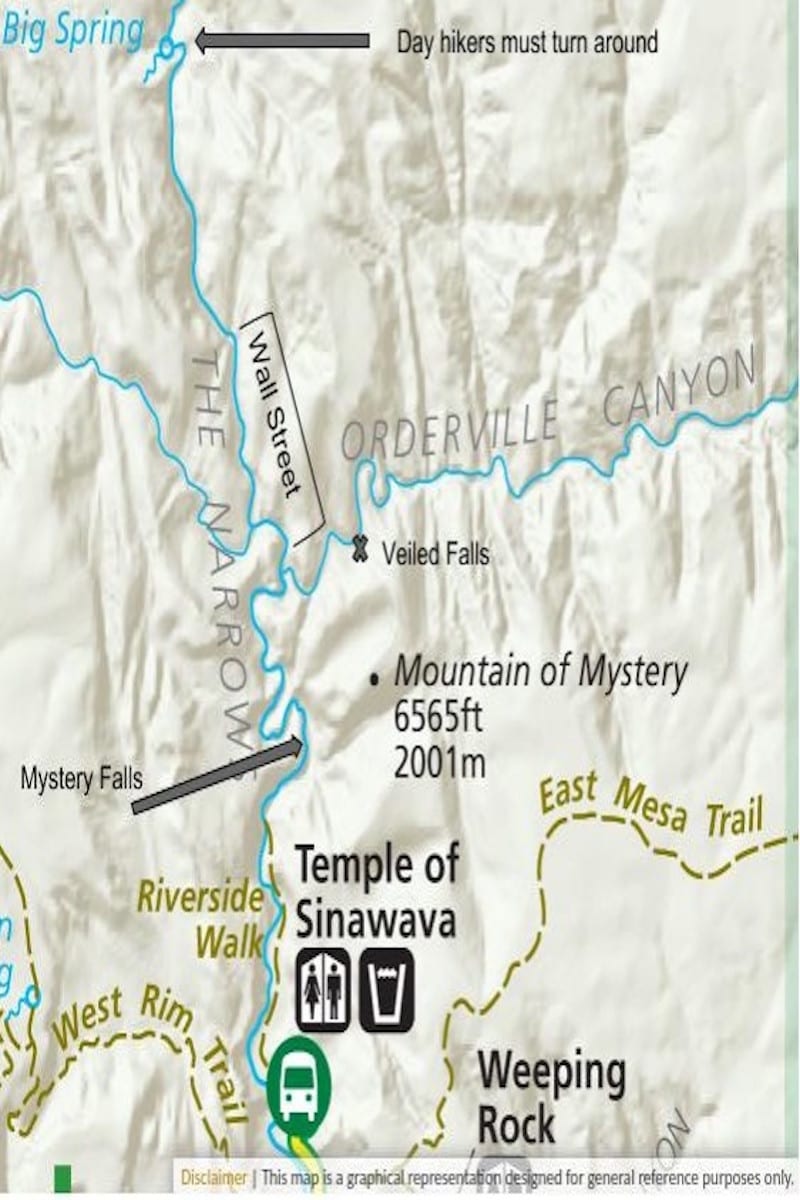
The trailhead for the Narrows hike is found at the shuttle stop at the far end of the main canyon.
From February-November, the park is closed to private vehicles so you must ride the free shuttle from the Visitor Center.
It is roughly a 45 minute ride, depending on how many people get on and off at each of the 9 stops.
2. Riverside Walk – 1 Mile Long
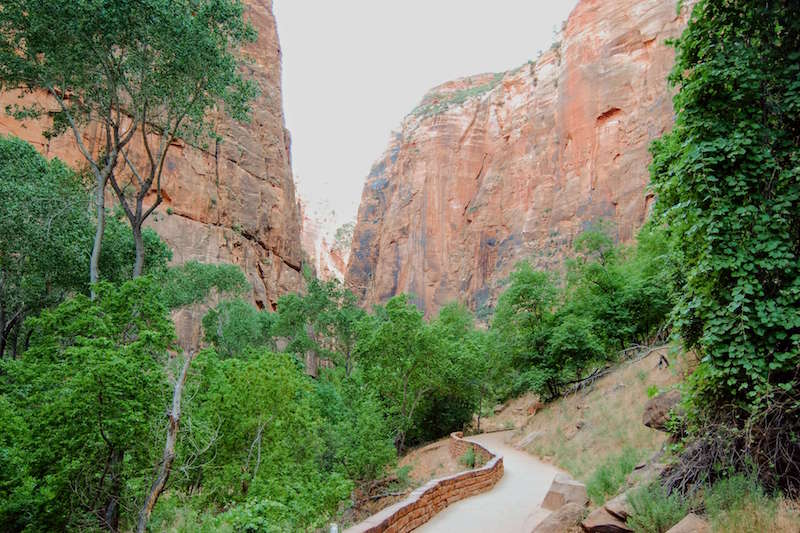
To get to The Narrows, take the paved Riverside Walk, a 1 mile long, easy stroll through some beautiful scenery and along the Virgin River.
Anyone can do this section. It ends at a rocky beach where you begin wading upriver and thus begin hiking The Narrows.
3. Mystery Falls – 1.5 miles from the Trailhead
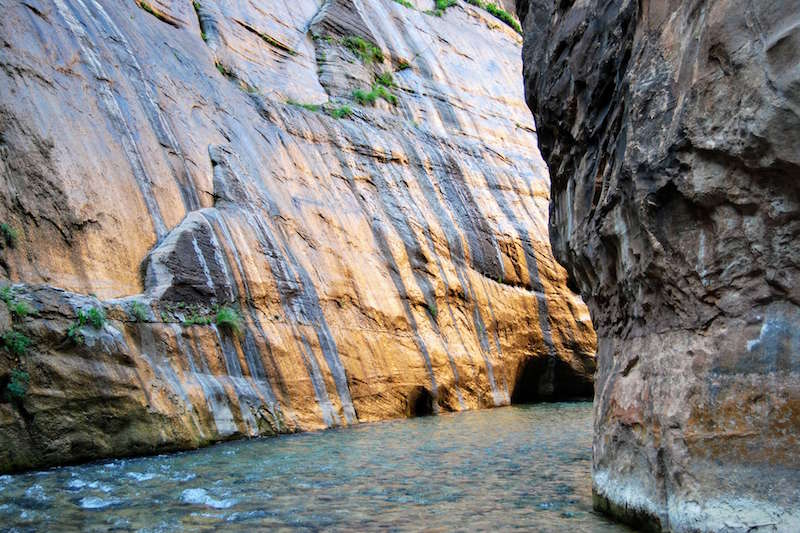
The first section in the river is 0.5 miles long, from where you start wading until you get to Mystery Falls, so named because water flows down the right side of the canyon wall and creates a gorgeous 110 foot small waterfall.
Many visitors, especially with small children, turn back here.
This is not because the trail gets any more difficult upstream, it’s simply that it is tiring to hike against the current and to constantly search for footing.
4. Beginning of Wall Street and Orderville Canyon Confluence – 2.5 miles from Trailhead
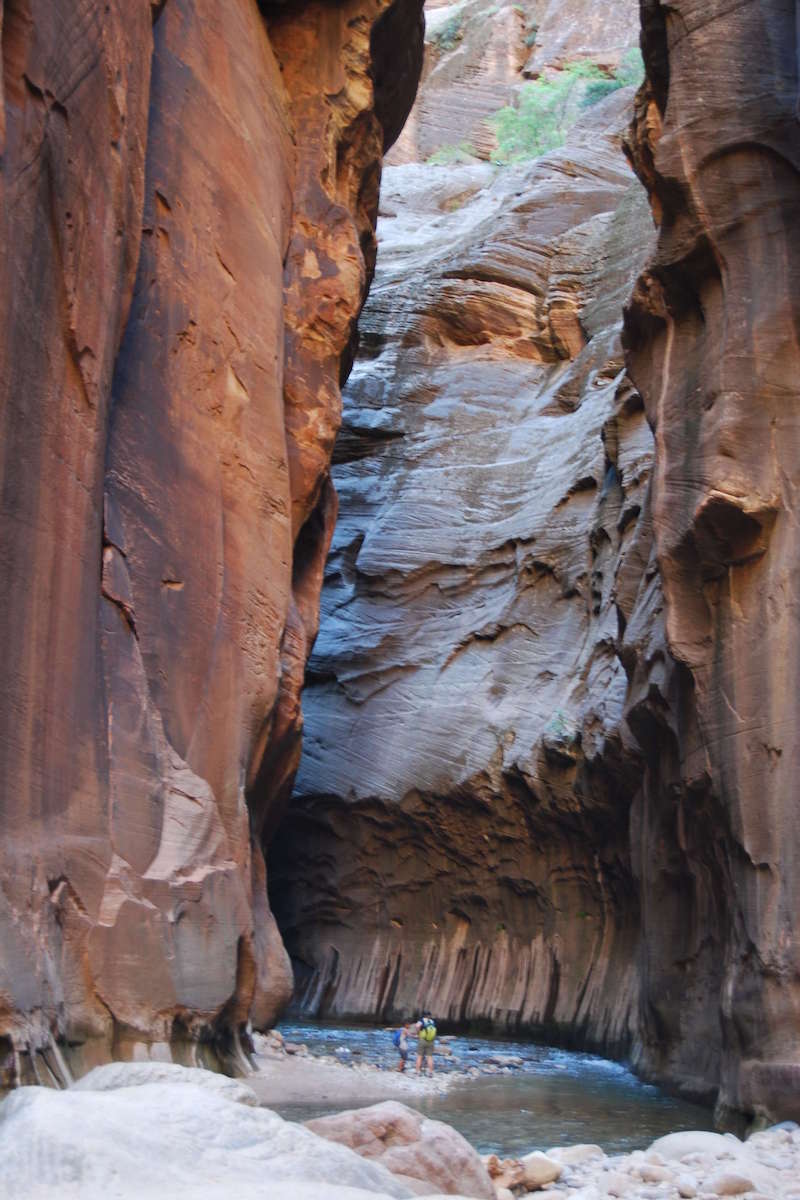
The next marker is Wall Street, about a mile upstream from Mystery Falls.
Here the canyon walls get much closer together and the “wow” factor really amps up.
Orderville Canyon joins in on the right, a brilliant slot canyon that you can detour up for 0.5 miles to Veiled Falls where a National Park Service sign tells you to turn back.
5. Big Spring – 5 miles from Trailhead
From the confluence of Orderville Canyon, you can hike about 2.5 more miles up the Virgin River, through Wall Street, until you reach Big Spring where day hikers must turn-around.
If you are interested in hiking the entire 16-mile length of the canyon, you must get a permit and start at the top. See the NPS website.
How Long Does It Take to Hike the Narrows?
It took us about 4.5 hours to hike to Orderville Canyon and back, including lots of snack stops, photo pauses, and breaks to warm up cold feet.
We hiked just under 6 miles, turning around a little ways up Wall Street and including a short detour up Orderville Canyon.
I would say this was an average hiking speed as we were not passed by many people, but we also did not pass many people ourselves.
The entire hike is 16 miles round trip, and takes most people around 12 hours, but you don’t have to do all the hike.
It’s an out and back hike, so you can turn back when you feel you’ve had enough.
Best Time of Year to Hike Zion Narrows

The best time of year to hike the Zion Narrows is in the summer or early fall. This is when the weather is at its best and the water flow is at its calmest. October is considered the best month to hike the Narrows in Zion.
The southwest of the United States experiences a “monsoon season” from mid-July to mid-September which entails powerful thunderstorms usually between 11am and 6pm.
The storms may be short-lived but they dump a lot of water (not what you want in a canyon) and lightening (also not good when you are knee-deep in water).
The weather forecast read “10%-30% chance of scattered thunderstorms” every afternoon we were there. And it doesn’t have to rain on you, a thunderstorm 30 miles upriver can cause a flash flood!
It’s not recommended to hike this trail in the winter and early spring as the water levels become too high. (We – Makepeace Family – visited in the Spring of 19, and could not hike it as the water was too high! Craig and I also did it in the summer and the levels were perfect.)
As mentioned early, the trail closes when the water flow reaches over 150 CFS so do make sure to check this before heading out.
Tips for the Zion Narrows hike
1. Use Poles – Hiking Up A River Is Not Easy
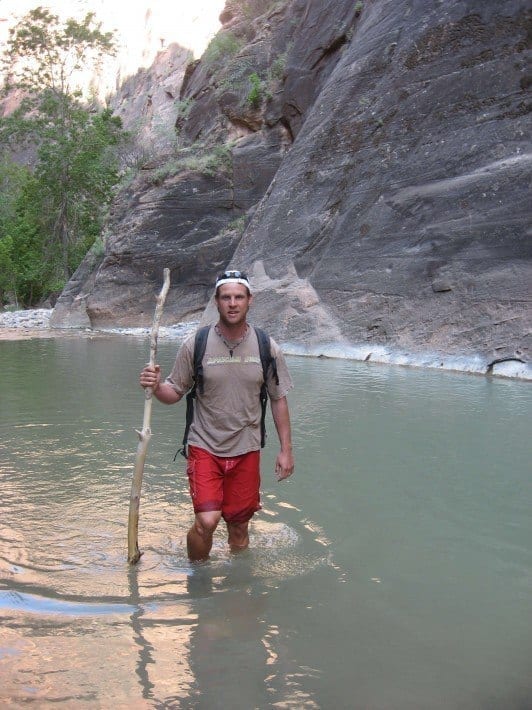
The current is against you and the footing is very slippery. Even going back downriver is not a breeze as you are still searching for footing.
We highly recommend you use poles to help you keep your balance. Personally, one pole is better as you may need to keep one hand free to help your kids balance, but you decide whether you want one or two.
The water is cold so appropriate clothing and footwear is needed. See below for specific gear recommendations.
2. There Is No “OUT”
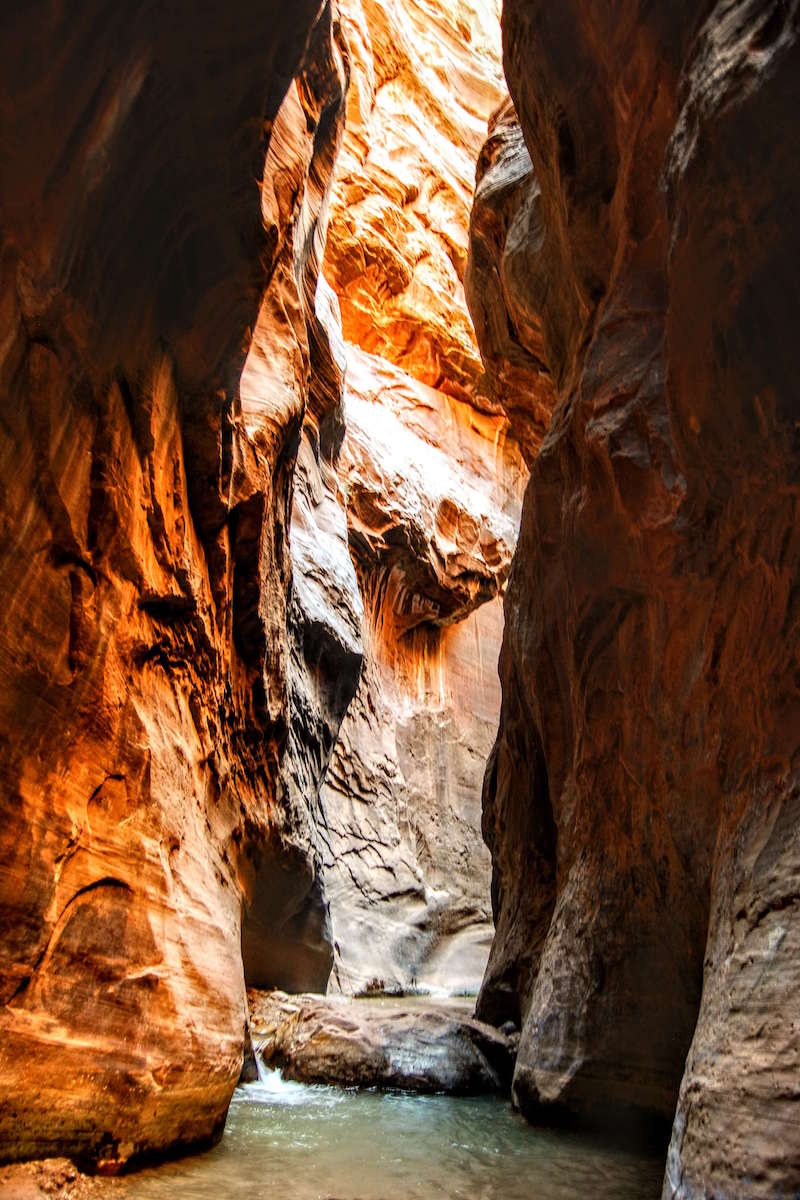
The river is in Zion Canyon, i.e. there is no “out” except at the trailhead.
If you get tired, you must hike back the way you came. But more importantly, if there is a flash flood, there is nowhere to go.
Always check weather conditions and forecast before departing. Be aware of flash flood risks!
3. Start Early In The Day
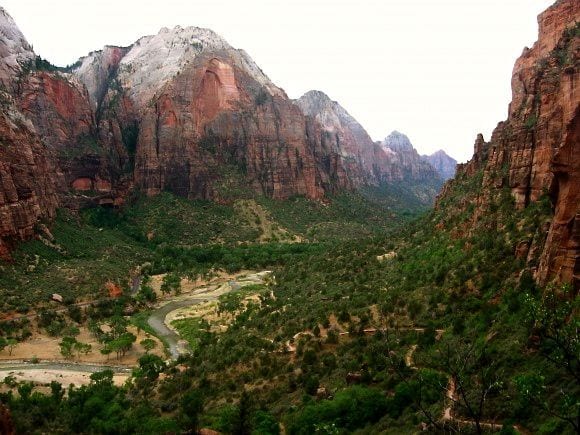
An early start is especially important for doing the Zion Narrows hike in the summer. There are two good reasons for this:
- This is an incredibly popular trail and by late morning resembles a crowded amusement park.
- Thunderstorms are far more likely in the afternoon, so you want to be off the water by that time to avoid not just lightening, but also flash flood dangers.
We caught the first shuttle from the Visitor Center at 6.00am and were on the trail just before 7.00am.
The shuttle was packed, but people spaced out once we began hiking and I have some beautiful shots of just us and the river.
By the time we got back to the trailhead around 11.30am, we had to pick our way through the throngs of people embarking on the hike.
I would not have enjoyed this hike as much had the trail been this crowded the entire time so starting early was absolutely worth it.
4. Take A Last Chance Bathroom Stop
You’ll find nice flush toilets at the Temple of Sinawava, and they will be your last chance unless you pee in the river. Which everyone does.
There are no secluded spots in a canyon.
Safety and Preparation Tips
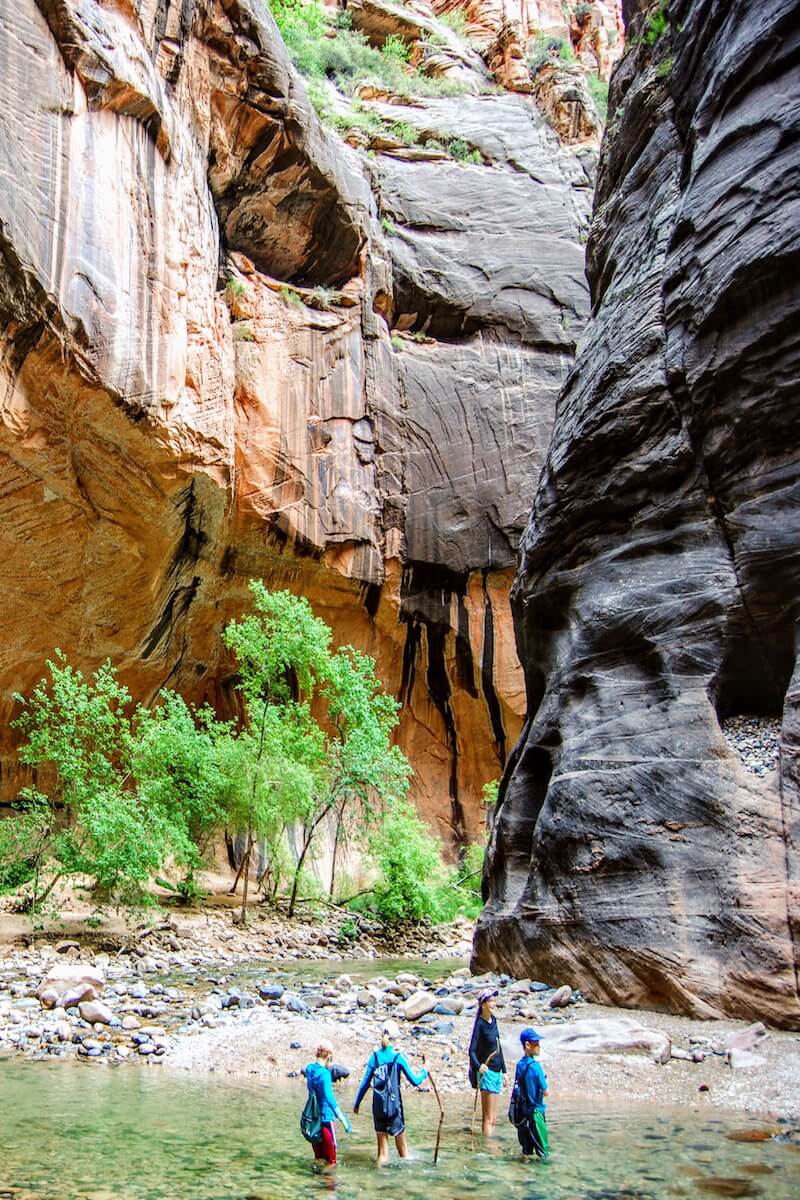
5. Find Out The River Flow Rate
Check the historical water levels in the planning stages to see if the hike is doable for the dates you are going and then re-check closer to time.
Historically, April has always been a bad time to do this hike. The trail has closed more in April than any other month.
Winter snow melt and heavy rainfall can mean the actual flow is different from the historical averages.
Look on the US Geologic Survey’s website (you’ll find a link on the NPS The Narrows page) for the graph showing current discharge in cubic feet per second (cfs).
Below 60 CFS Is Ideal
Anything below 100 cfs is okay for hiking, but I would look for below 60 cfs if you are hiking with children.
We hiked with four kids (12, 10, and twin 8 year-olds) and the flow was 45cfs. This was just high enough for it to be a fun challenge for the kids.
We still had to help them out at spots though. If the water level was much higher, I think we would have tired out long before we got to Wall Street.
And the water is cold, even in summer, so even small height differences are a big deal when you are only 4 feet tall.
What was knee deep for me was mid-thigh for the twins, meaning their bathing suits were wet most of the time.
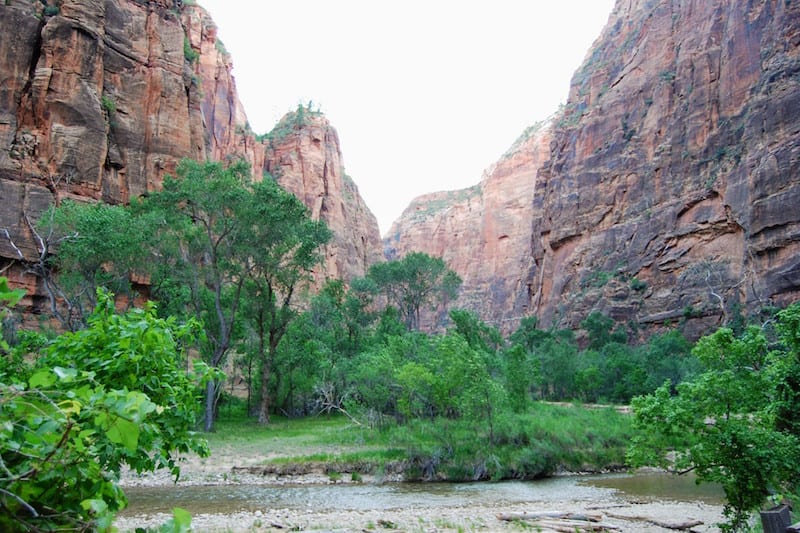
6. Check The Weather Forecast For Zion National Park
Check the weather forecast before you leave your hotel.
This NOAA site has flash flood warnings for the area so check it as well. There is no cell coverage in the park, so you can’t count on a last minute check from the trailhead.
If there are thunderstorms in the area, do something else that day. People die in the Zion Narrows hike from flash floods!
The Visitor Center also has weather information but does not open until 8.00am.
The Temple of Sinawava shuttle stop has a big sign marking the flash flood potential that day–pay attention to it.
7. Be Aware of the Water Conditions
If the water changes from clear to muddy or starts rising at all while you are hiking, turn around immediately or seek higher ground.
I kept a mental note the whole time we were hiking of high ground spots along the way.
I know I was a bit paranoid but hiking with kids makes me so much more cautious than when I am hiking by myself.
8. Use Moleskin
Put some moleskin in your first aid kit.
After several hours hiking in wet shoes and clothes, one kid had a problem with raw skin on feet and legs from shoes and swimsuits rubbing.
The moleskin stuck really well despite being soaked. It still had to be replaced, but only every hour whereas the band-aid was an immediate loss.
9. Bring Plenty Of Water
We brought 1.5 liters per person and ended up dumping about 0.5 liter each on the way back.
Because it isn’t that warm on the Narrows trail if you start early, we did not end up needing as much water as we thought we would. But I still would rather have it and not need it, than need it and not have it.
We also did not hike the entire trail as we turned around near the beginning of Wall Street, so you might need more than us if you hike all the way to Big Spring.
10. Pack Snacks
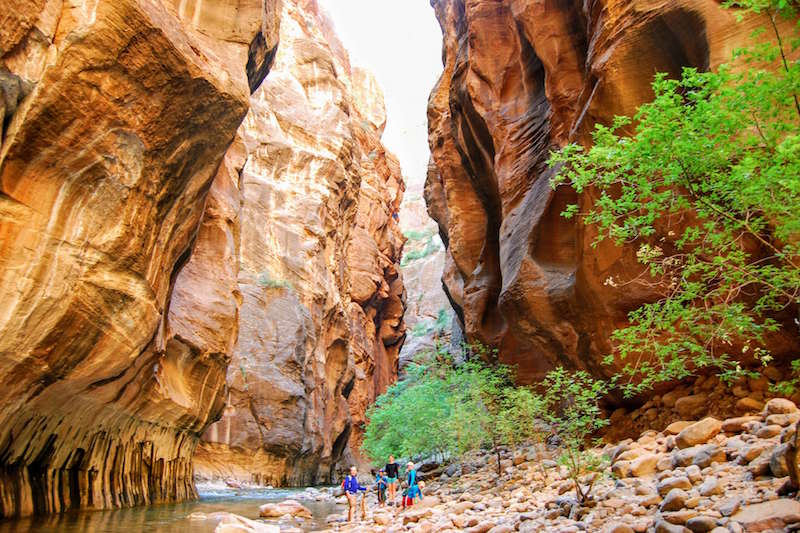
It is hard work hiking up a river and we worked up quite an appetite.
We planned on lunch back in Springdale, so we just brought granola bars and apples with us and ate them all. Plenty of people brought lunch to have on the trail though.
You’ll find several areas with enough rocky shoreline for a picnic in the section before you get to Wall Street. Just remember you have to pack it all out.
Gear For Hiking The Narrows
Now you know how to do the hike and what to consider, let’s talk about the gear you need.
You’ll find a number of outfitters in Springdale where you can rent (just outside the park) Narrows gear. We recommend Zion Outfitter, who have a special package for hiking the Narrows.
The package generally includes canyoning boots, waterproof backpack, neoprene socks, and a walking stick. They also have gear for kids.
The cold weather package will also include dry pants or an entire dry suit.
We hiked in July and decided to skip the footwear package, just wearing our tried and true water sandals (Keens and Chacos.)
While the footing was fine, two of the four kids had uncomfortably cold feet by the end and I wished we had rented the socks at least, if not the whole package.
All of our water shoes were closed-toed. I would definitely not do this with open-toed shoes.
11. Use a Hiking Stick
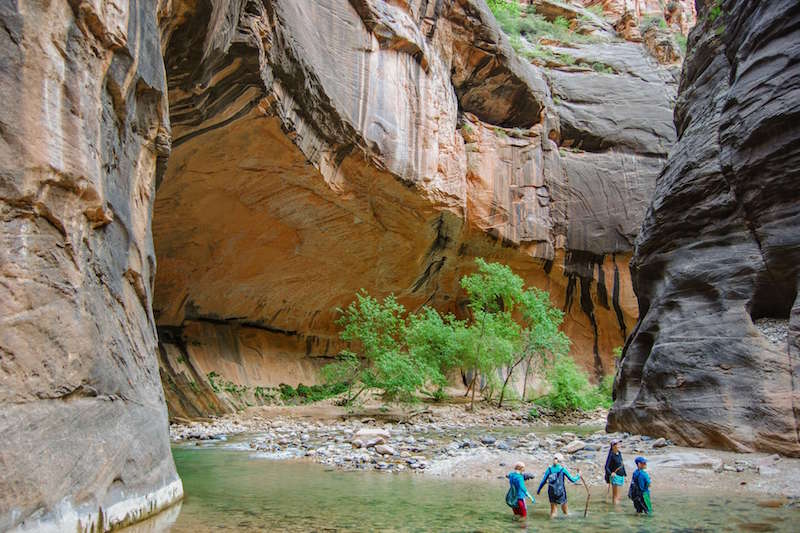
I never use one on my normal hiking trips, but I found it extremely useful for this adventure.
It gives you some added stability in the fast moving current and tricky footing. We got to the trail early enough (7am) and found plenty of sticks leftover from the day before at the rocky beach where you begin wading.
Sticks also come included with most gear rentals.
Use the stick on the upstream side for the most stability. I didn’t figure this out until about an hour into the hike, although everybody in my group seemed to have grasped that immediately.
Not my swiftest moment.
12. Bring a Dry Bag
A dry bag is a necessity for the Zion Narrows hike.
The footing is extremely slippery so plan on taking a header into the water at least once on this hike.
The photography opportunities are outstanding though so also plan on bringing your nicest camera. This combo means you had better include a dry bag unless your camera is different than mine and likes to get wet.
Lunch also tastes better not soggy. Ziplock will work in a pinch but spending $5-10 on a dry bag rental is a minor investment for peace of mind.
13. Wear a Long-Sleeved Shirt or Jacket
You might think in July this would not be necessary but you would be wrong.
The water is cold and, if you get to the trail early like you should, the sun may not really shine on you until you are on the way out.
I wore running tights and a long-sleeved shirt and was happy. The kids had bathing suits, shorts, and long-sleeved swim shirts.
14. Wear Sunscreen
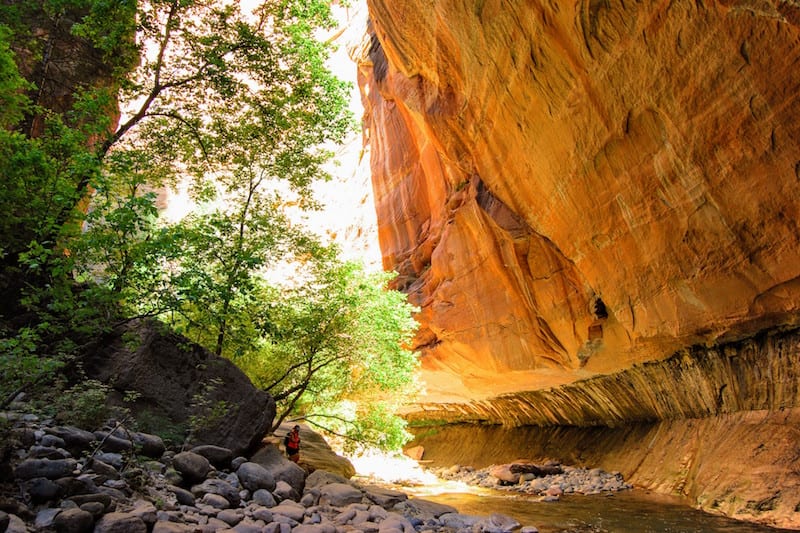
I know I just said the sun won’t shine on you, but there are some sections where the walls open up a little.
Also, what little sun does shine down is reflected off the water so you are more exposed than you might think.
The ball caps were brought for sun protection but turned out to be just as useful for warmth.
Do you need a permit to do the Narrows in Zion?
No, you don’t need a permit to hike the Narrows in Zion if you hike upstream (bottom up) as far as Big Spring.
However, hiking The Narrows from the top down from Chamberlain’s Ranch, either in one day or two days, does require a Wilderness Permit Pass.
Get more info on permits here.
Take Home Message
When you visit Zion National Park, this trail should be at the top of your to-do list. It is spectacular and worth all the extra preparations.
Even with young kids, I would still give it a try. While you might only make it a quarter mile upstream, it is an experience nonetheless.
Don’t be cavalier about the weather though, and you must be okay with the possibility that Mother Nature won’t cooperate with your best laid plans.
There is always a next time!
Zion Travel Video
Southern Utah Travel Planning
Don’t miss these adventures in Southern Utah. Pop your name in the form below for a free printable bucket list will help you plan the ultimate trip.
More Utah Travel Tips
Need more inspiration for visiting Utah? Here are some other helpful guides…
Pin Below To Share On Pinterest:
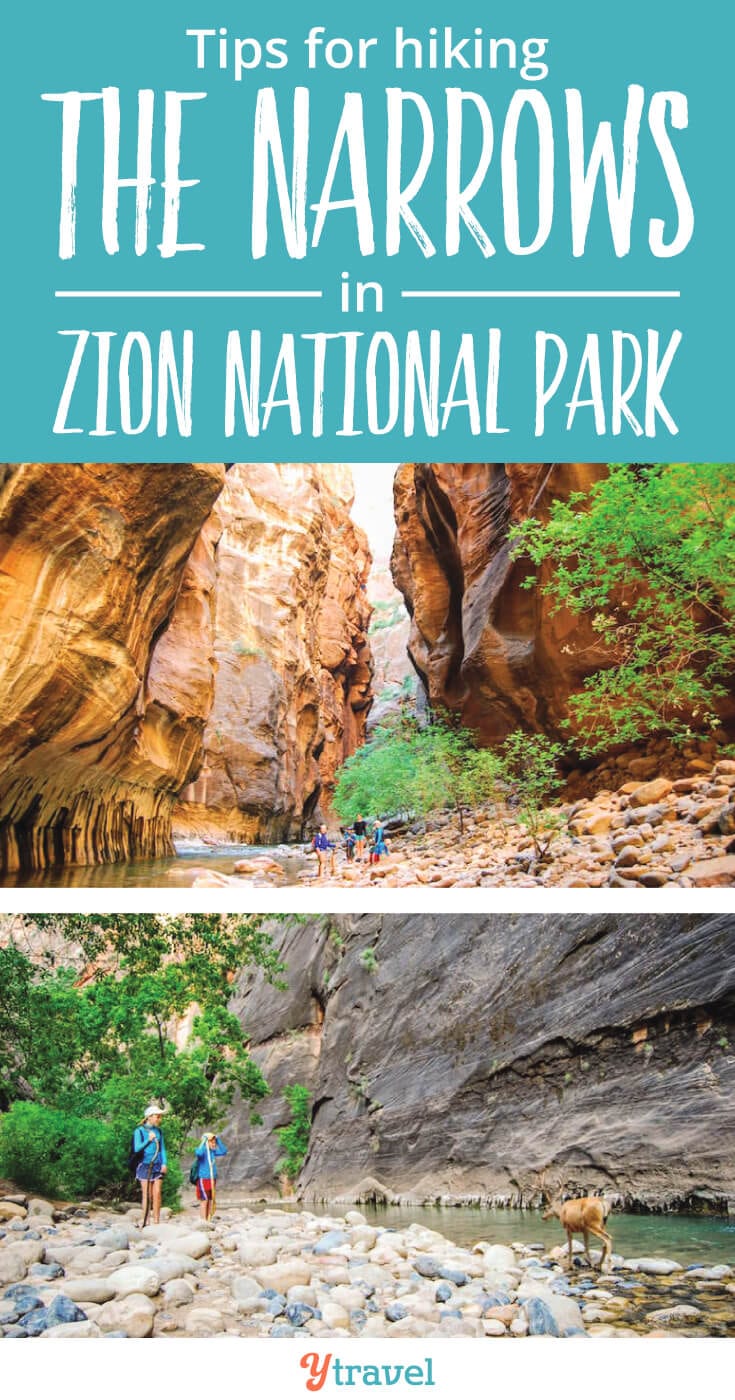
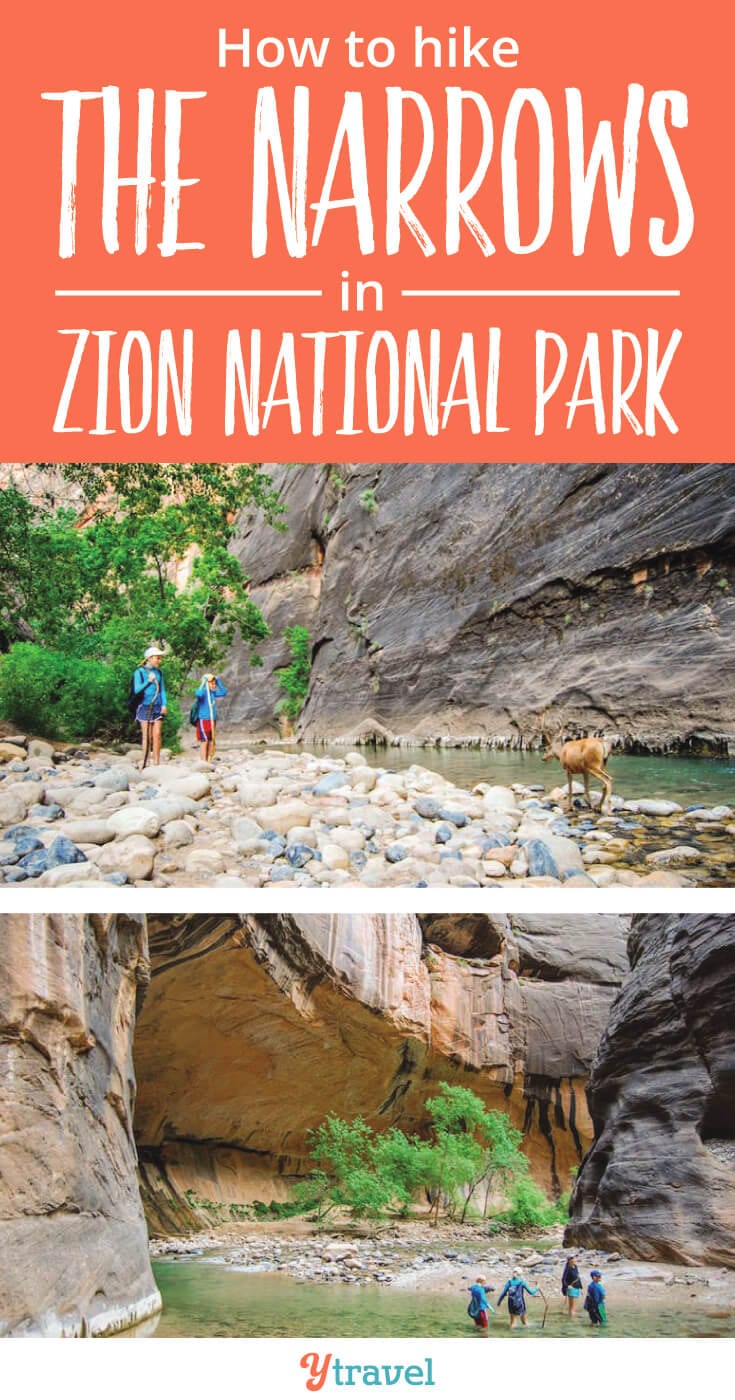
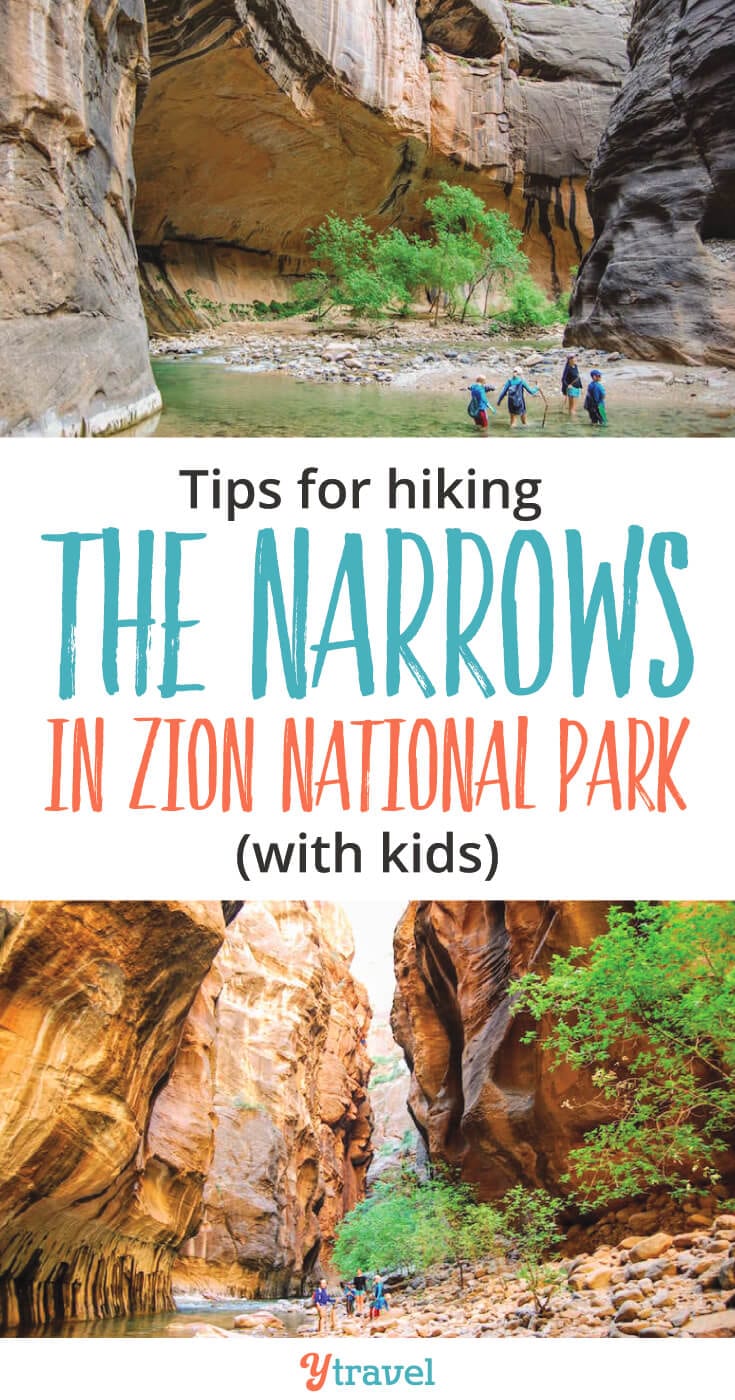
Have you done any other Zion National Park hikes? Or do you have any tips on other things to do in Zion National Park? Share in the comments.

