Sunset photography secrets: 10 top tips for breathtaking shots
4 min read
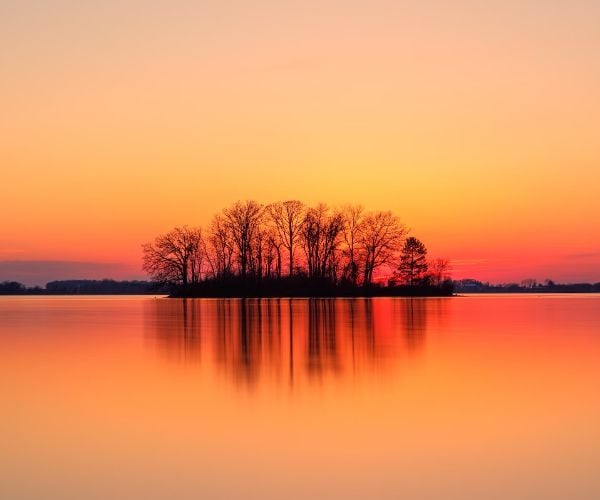
There’s something truly magical about a stunning sunset, isn’t there? That soft, warm glow casting a golden hue over the world, painting the sky with hues of pink and orange — it’s a photographer’s dream. But capturing those breathtaking sunset shots can be a bit tricky. In this guide, we’re going to unravel the secrets behind capturing sunset photos that will leave your friends and followers in awe. So, grab your camera and tripod, and let’s dive into the world of sunset photography…

1. Plan your location
The first secret to capturing stunning sunset shots lies in your choice of location. Research and select a picturesque spot, preferably in exotic or iconic destinations. Think about what kind of foreground elements you’d like to include in your shot—rocks, trees, water, or even buildings. These elements can add depth and interest to your photo. Arriving early is crucial, as it gives you time to set up and scout the best angles.

2. Timing is everything
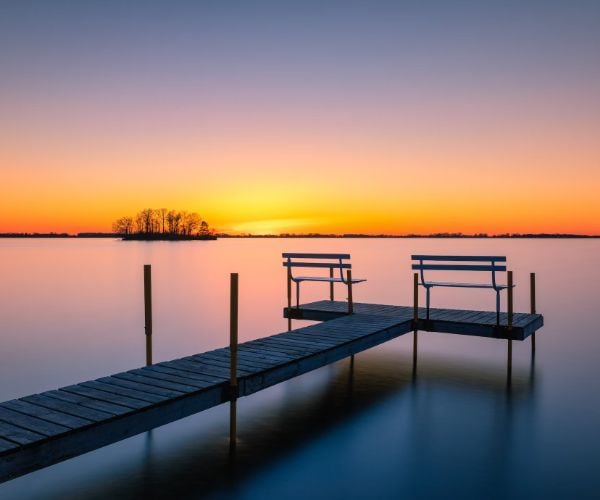
Now that you’ve picked your spot, let’s talk timing. The magic hour for sunset photography is, you guessed it, the golden hour. This is typically the hour before the sun dips below the horizon. During this time, the light is soft, warm, and perfect for capturing that dreamy glow. But don’t pack up your gear right after the sun sets. Stay a bit longer and take advantage of the “blue hour,” the period right after sunset when the sky is filled with rich, deep blues. It offers another beautiful set of lighting opportunities.

3. Use a tripod
Keeping your camera steady is crucial when shooting during the golden hour. Even the slightest shake can ruin a perfectly good shot. That’s where a tripod comes in. Invest in a sturdy tripod to ensure your camera remains rock-solid. This will allow you to use slower shutter speeds without worrying about blur. You’ll thank us when you see those sharp, crisp shots later!

4. Golden hour awareness
Understanding the subtleties of the golden hour and the blue hour can make all the difference in your sunset photos. The golden hour offers warm, flattering light that bathes your subject in a soft glow, while the blue hour provides a unique and enchanting atmosphere with its cool, deep blue hues. Be aware of the changing light conditions and be ready to adapt your settings to make the most of these magical moments.
5. Appropriate gear
When it comes to gear, choose a camera with manual settings, like a DSLR or mirrorless camera. These cameras give you fuller control over your exposure settings, allowing you to adjust aperture, shutter speed and ISO to capture the perfect shot. As for lenses, consider using a wide-angle lens to capture expansive landscapes or a telephoto lens to zoom in on the sun itself or specific elements in your frame.

IMPORTANT NOTICE:
If you are reading this article anywhere other than on A Luxury Travel Blog, then the chances are that this content has been stolen without permission.
Please make a note of the web address above and contact A Luxury Travel Blog to advise them of this issue.
Thank you for your help in combatting content theft.
6. Filters
Filters are fantastic tools for sunset photography, especially if you want to balance the exposure between the bright sky and the darker foreground. A graduated neutral density (GND) filter can help you achieve this by reducing the intensity of light in the top part of your frame (the sky) while leaving the bottom part (the landscape) untouched. This ensures a well-exposed image where both the sky and foreground shine.
7. Composition
Composition is key to creating captivating sunset shots. While the beauty of the sunset itself is captivating, adding a strong foreground element can take your photo to the next level. Look for interesting rocks, trees, bodies of water, or even architecture to include in your frame. These elements create depth and provide context to your sunset scene.

8. Aperture priority
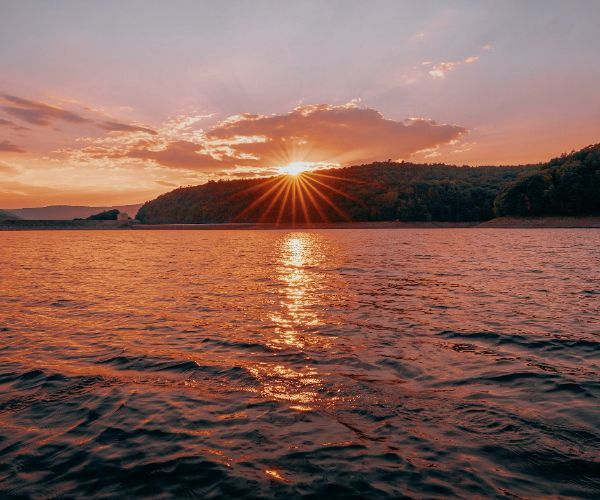
In photography, your choice of aperture can significantly impact the look of your photos. For sunset photography, consider using a smaller aperture (higher f-number) like f/11 or f/16. This will give you a greater depth of field, ensuring both the foreground and the sunset remain in focus. A smaller aperture also helps create those beautiful sunbursts when the sun is low on the horizon.

9. Manual focus
When your camera is set to autofocus it can sometimes struggle in low light conditions – for example, when the sun is setting. To ensure your images are sharp where you want them to be, use your manual focus and take your time to focus accurately. You can use the live view mode on your camera’s LCD screen to zoom in on your chosen focal point and manually fine-tune your point of focus.
10. Experiment and bracket
Don’t ever be afraid to experiment with your camera settings. The beauty of digital is you can try, try and try again. Sunset photography is as much an art as it is a science. Try different exposures, shutter speeds, and apertures to find the perfect combination for your shot. Additionally, consider bracketing your shots. Bracketing involves taking multiple shots at different exposures to ensure you capture the perfect moment. Later, in post-processing, you can merge these images to create a perfectly exposed masterpiece.

And there you have it, our ten secrets to capturing breathtaking sunset shots. Remember, while these tips will set you on the right path, practice makes perfect. So, keep chasing those sunsets, keep experimenting, and most importantly, have fun! Soon, you’ll be creating photos that will transport you back to those magical moments in exotic destinations.


